Assignment: Design, prototype, and refine a mechanism that can reliably hold and release a 9.8 N force (the weight of a 1 kg mass on Earth) to launch a toy car off a jump.
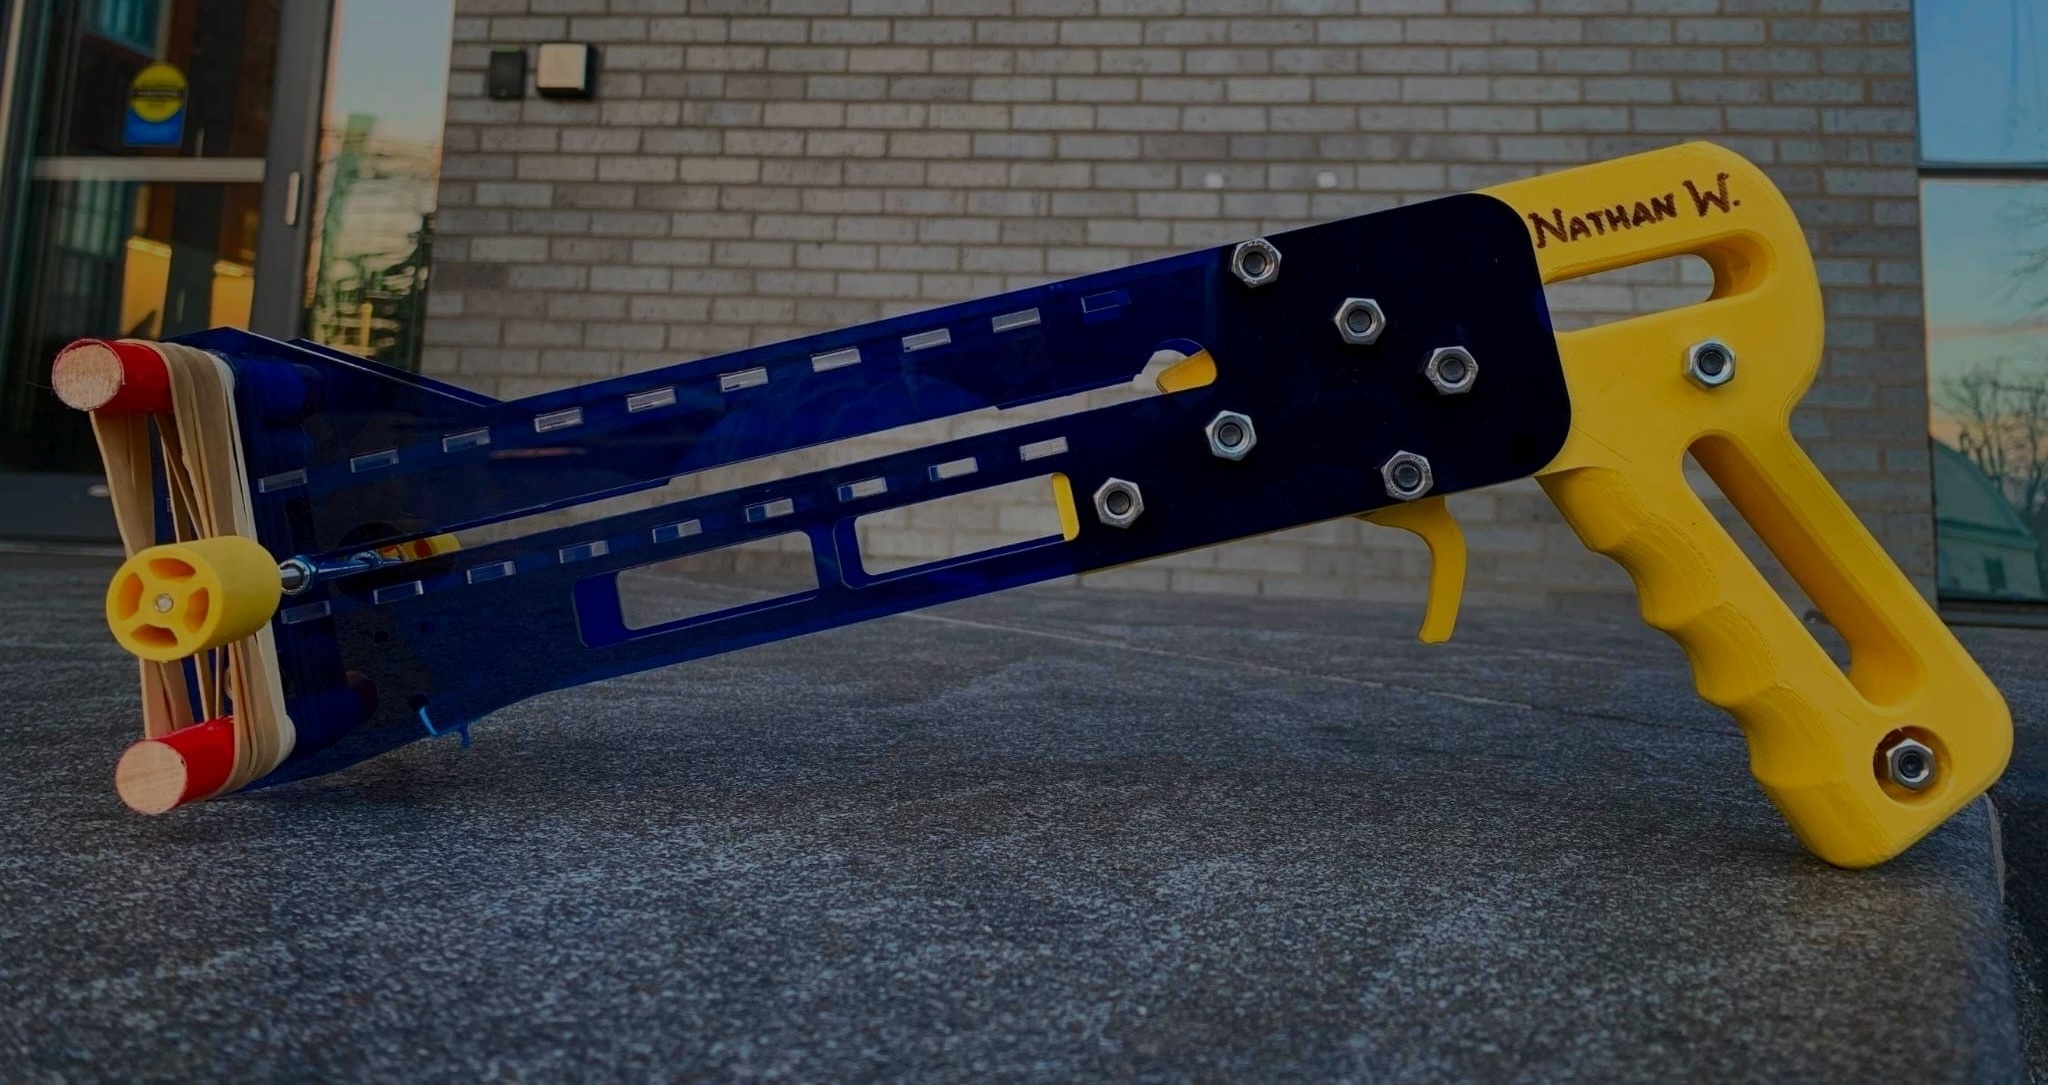
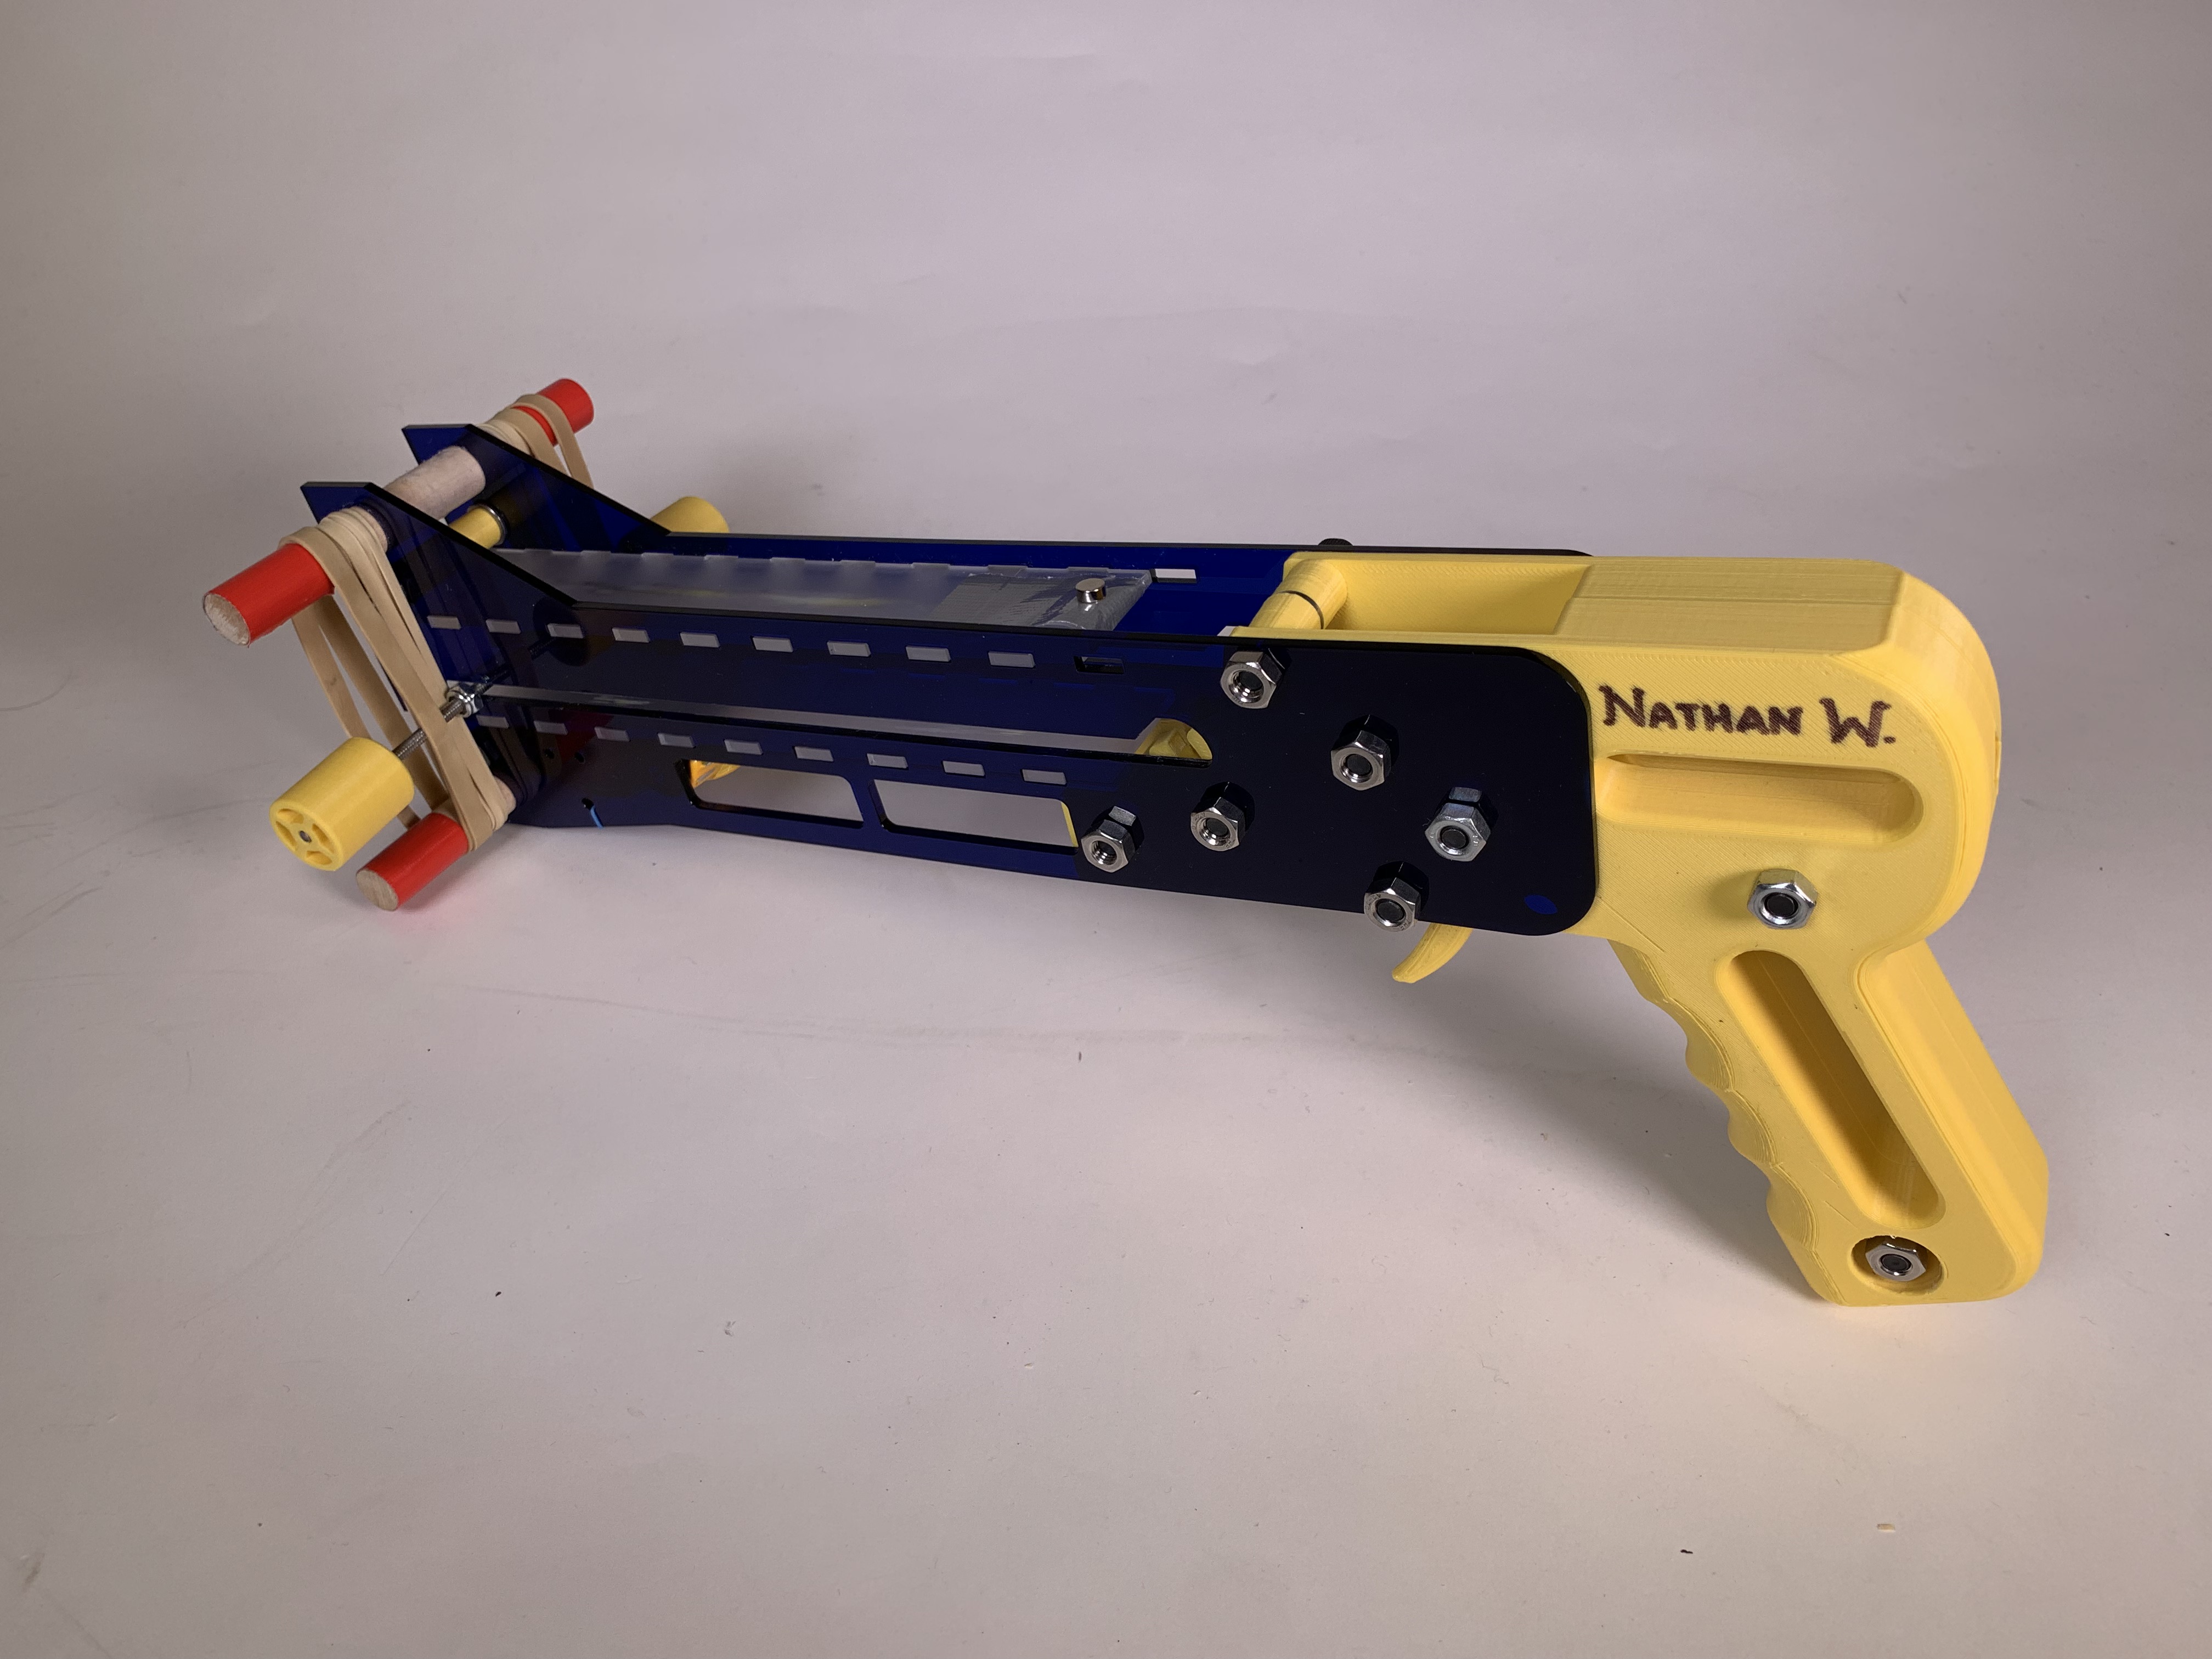
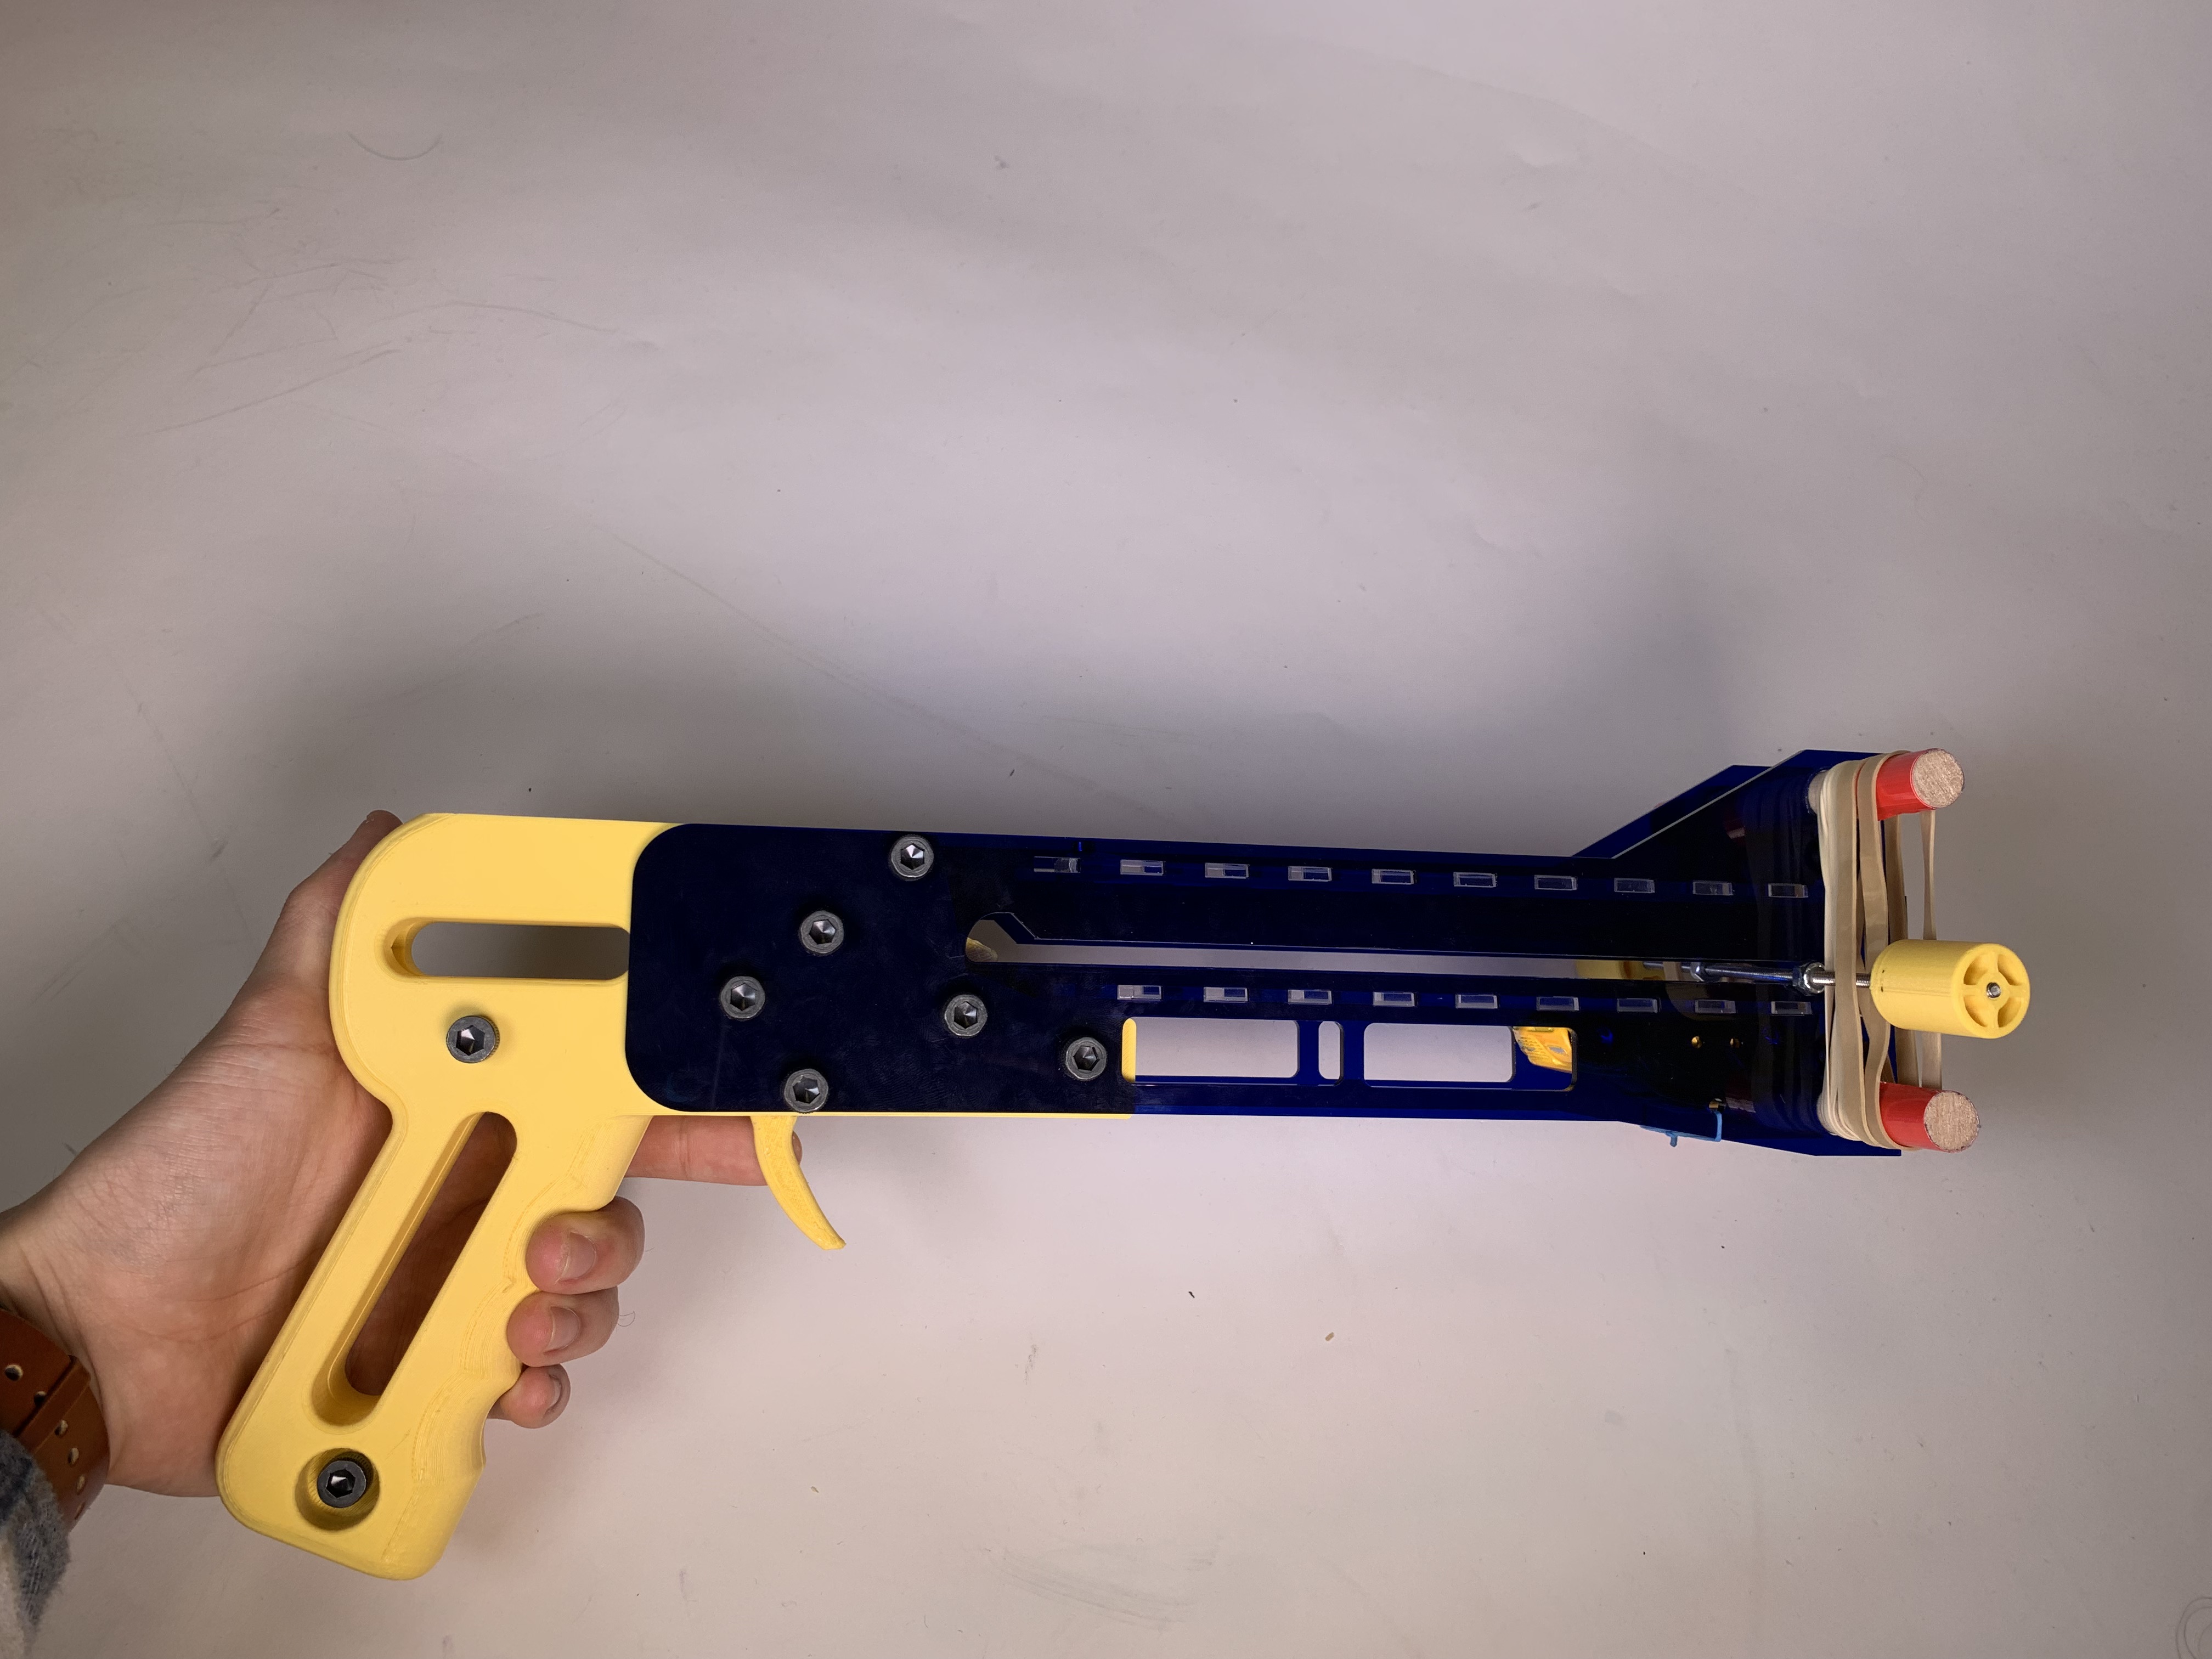
The first project for my Design for Fabrication class was to create a launcher for Hot Wheels cars. There were no constraints and we were free to use any materials within the 8-day assignment period. I decided to base my design on basic crossbows, and my goal was to successfully integrate laser-cut acrylic and 3D printed PLA filament in a robust and powerful product. The end result was a car-launching crossbow that was ergonomic, aesthetically pleasing, and insanely powerful.
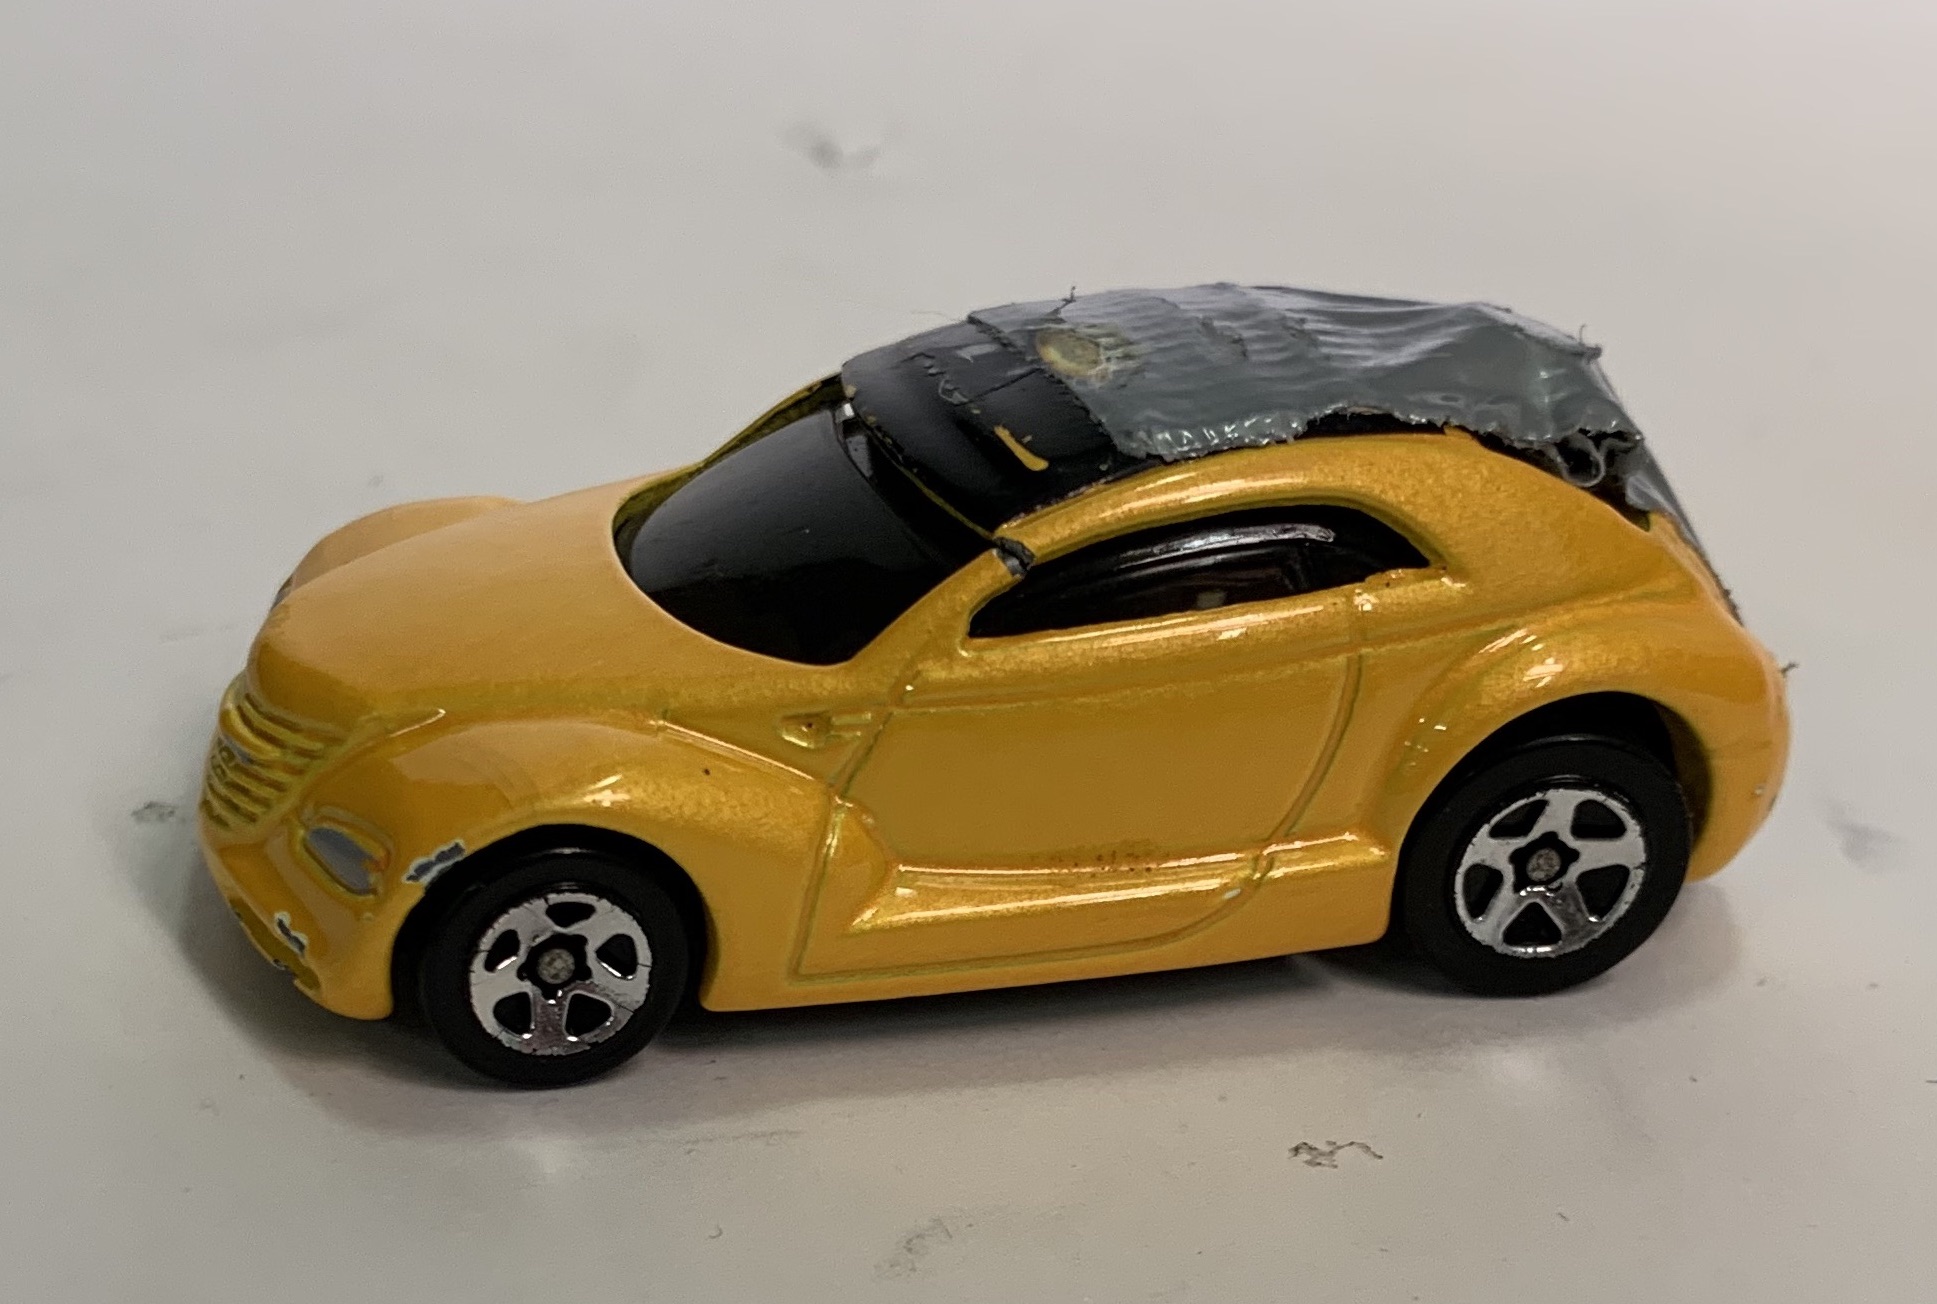
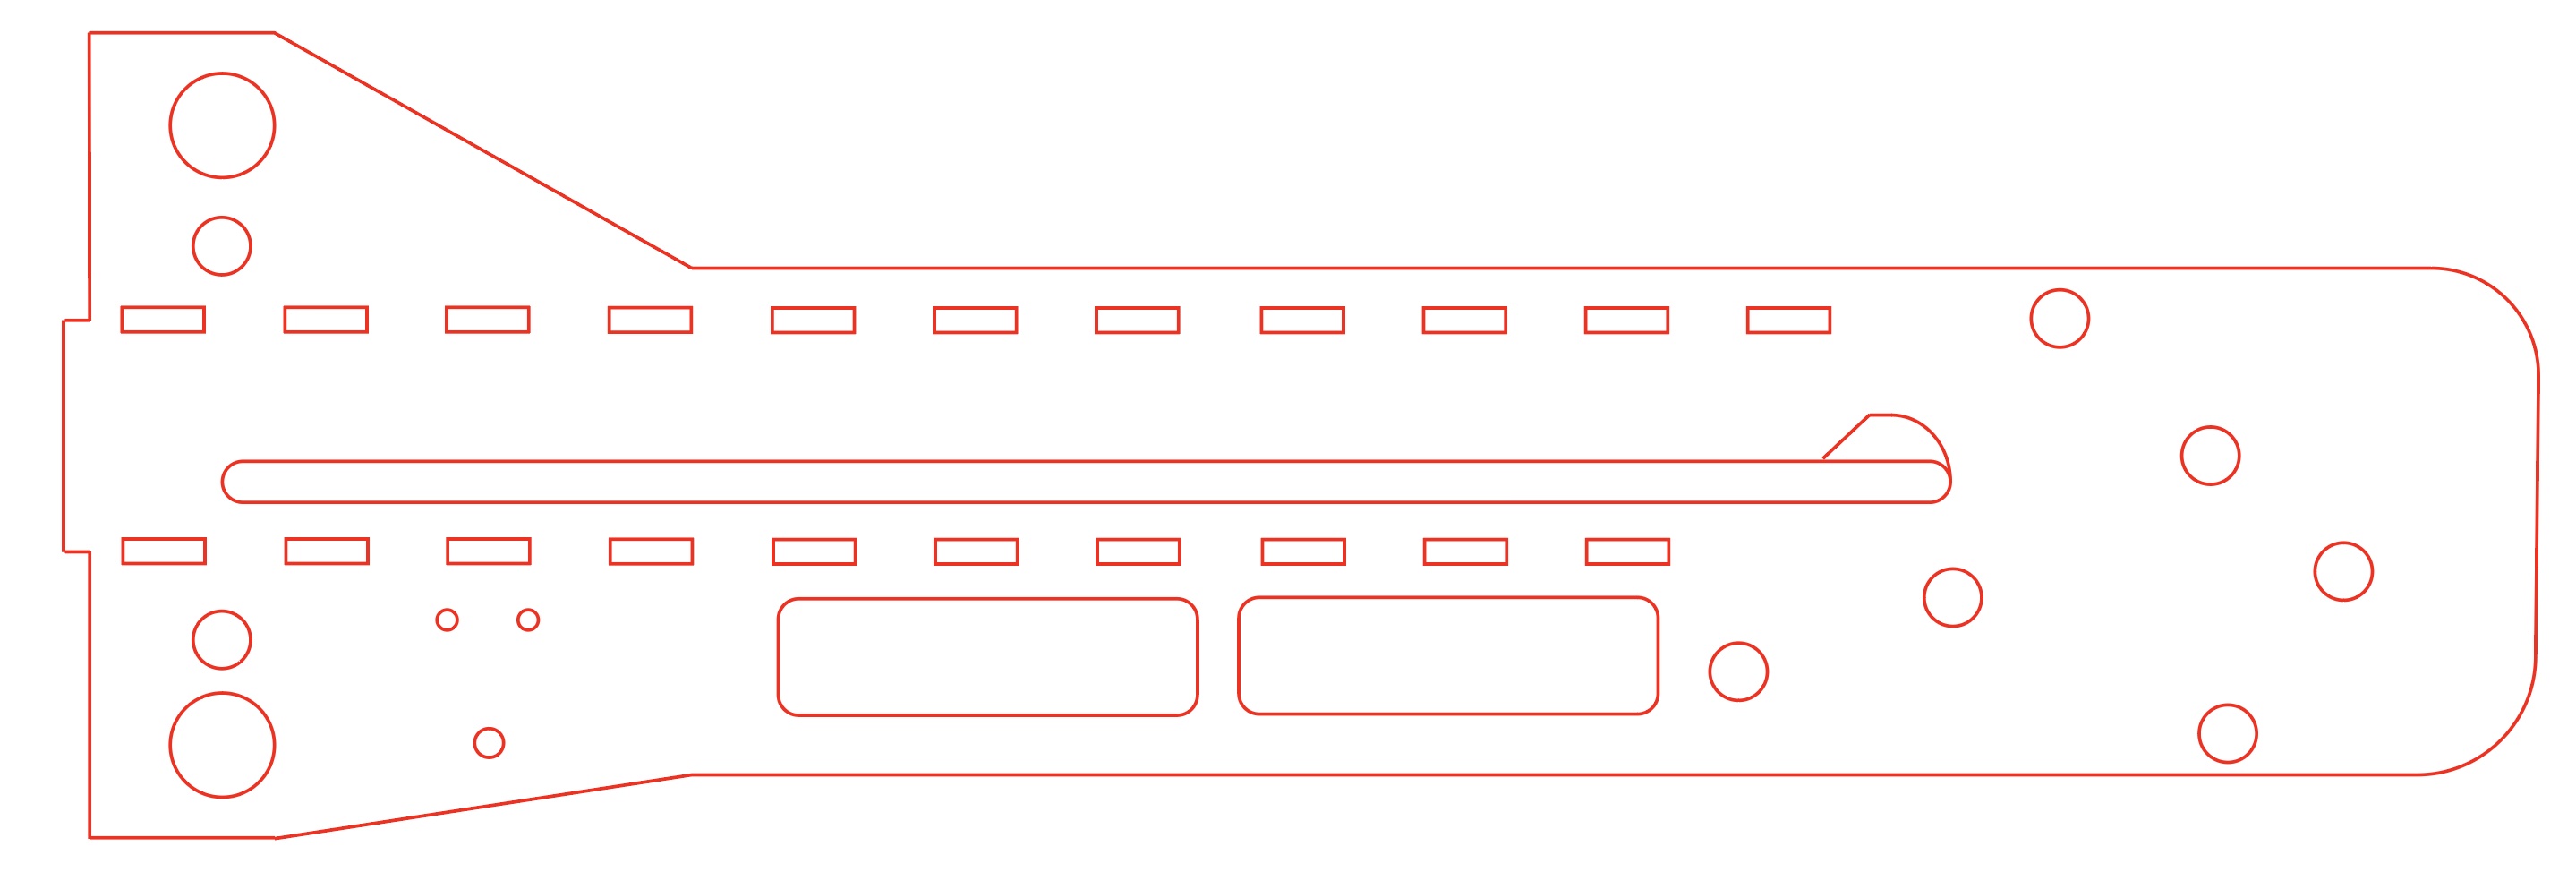
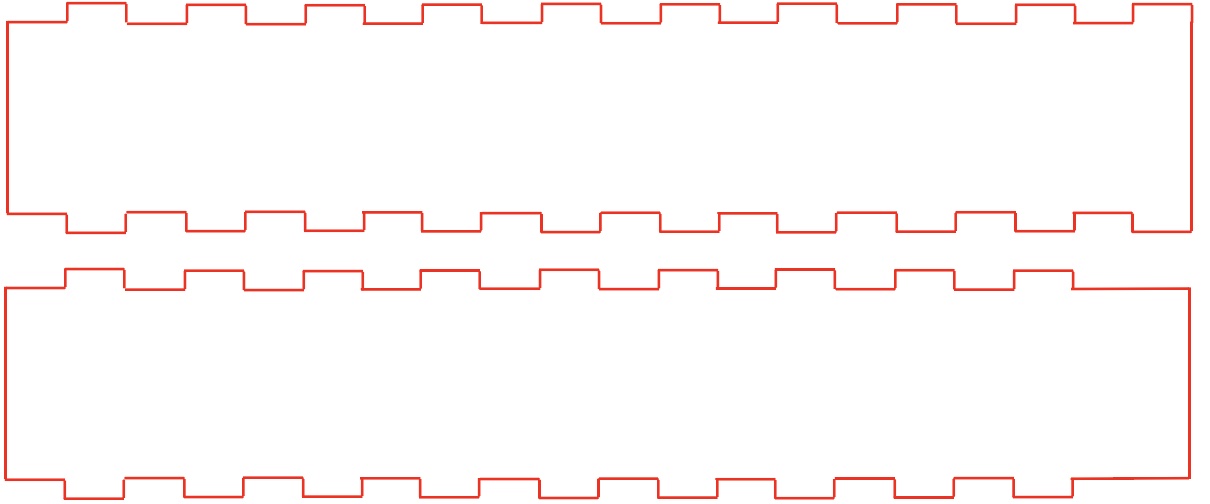
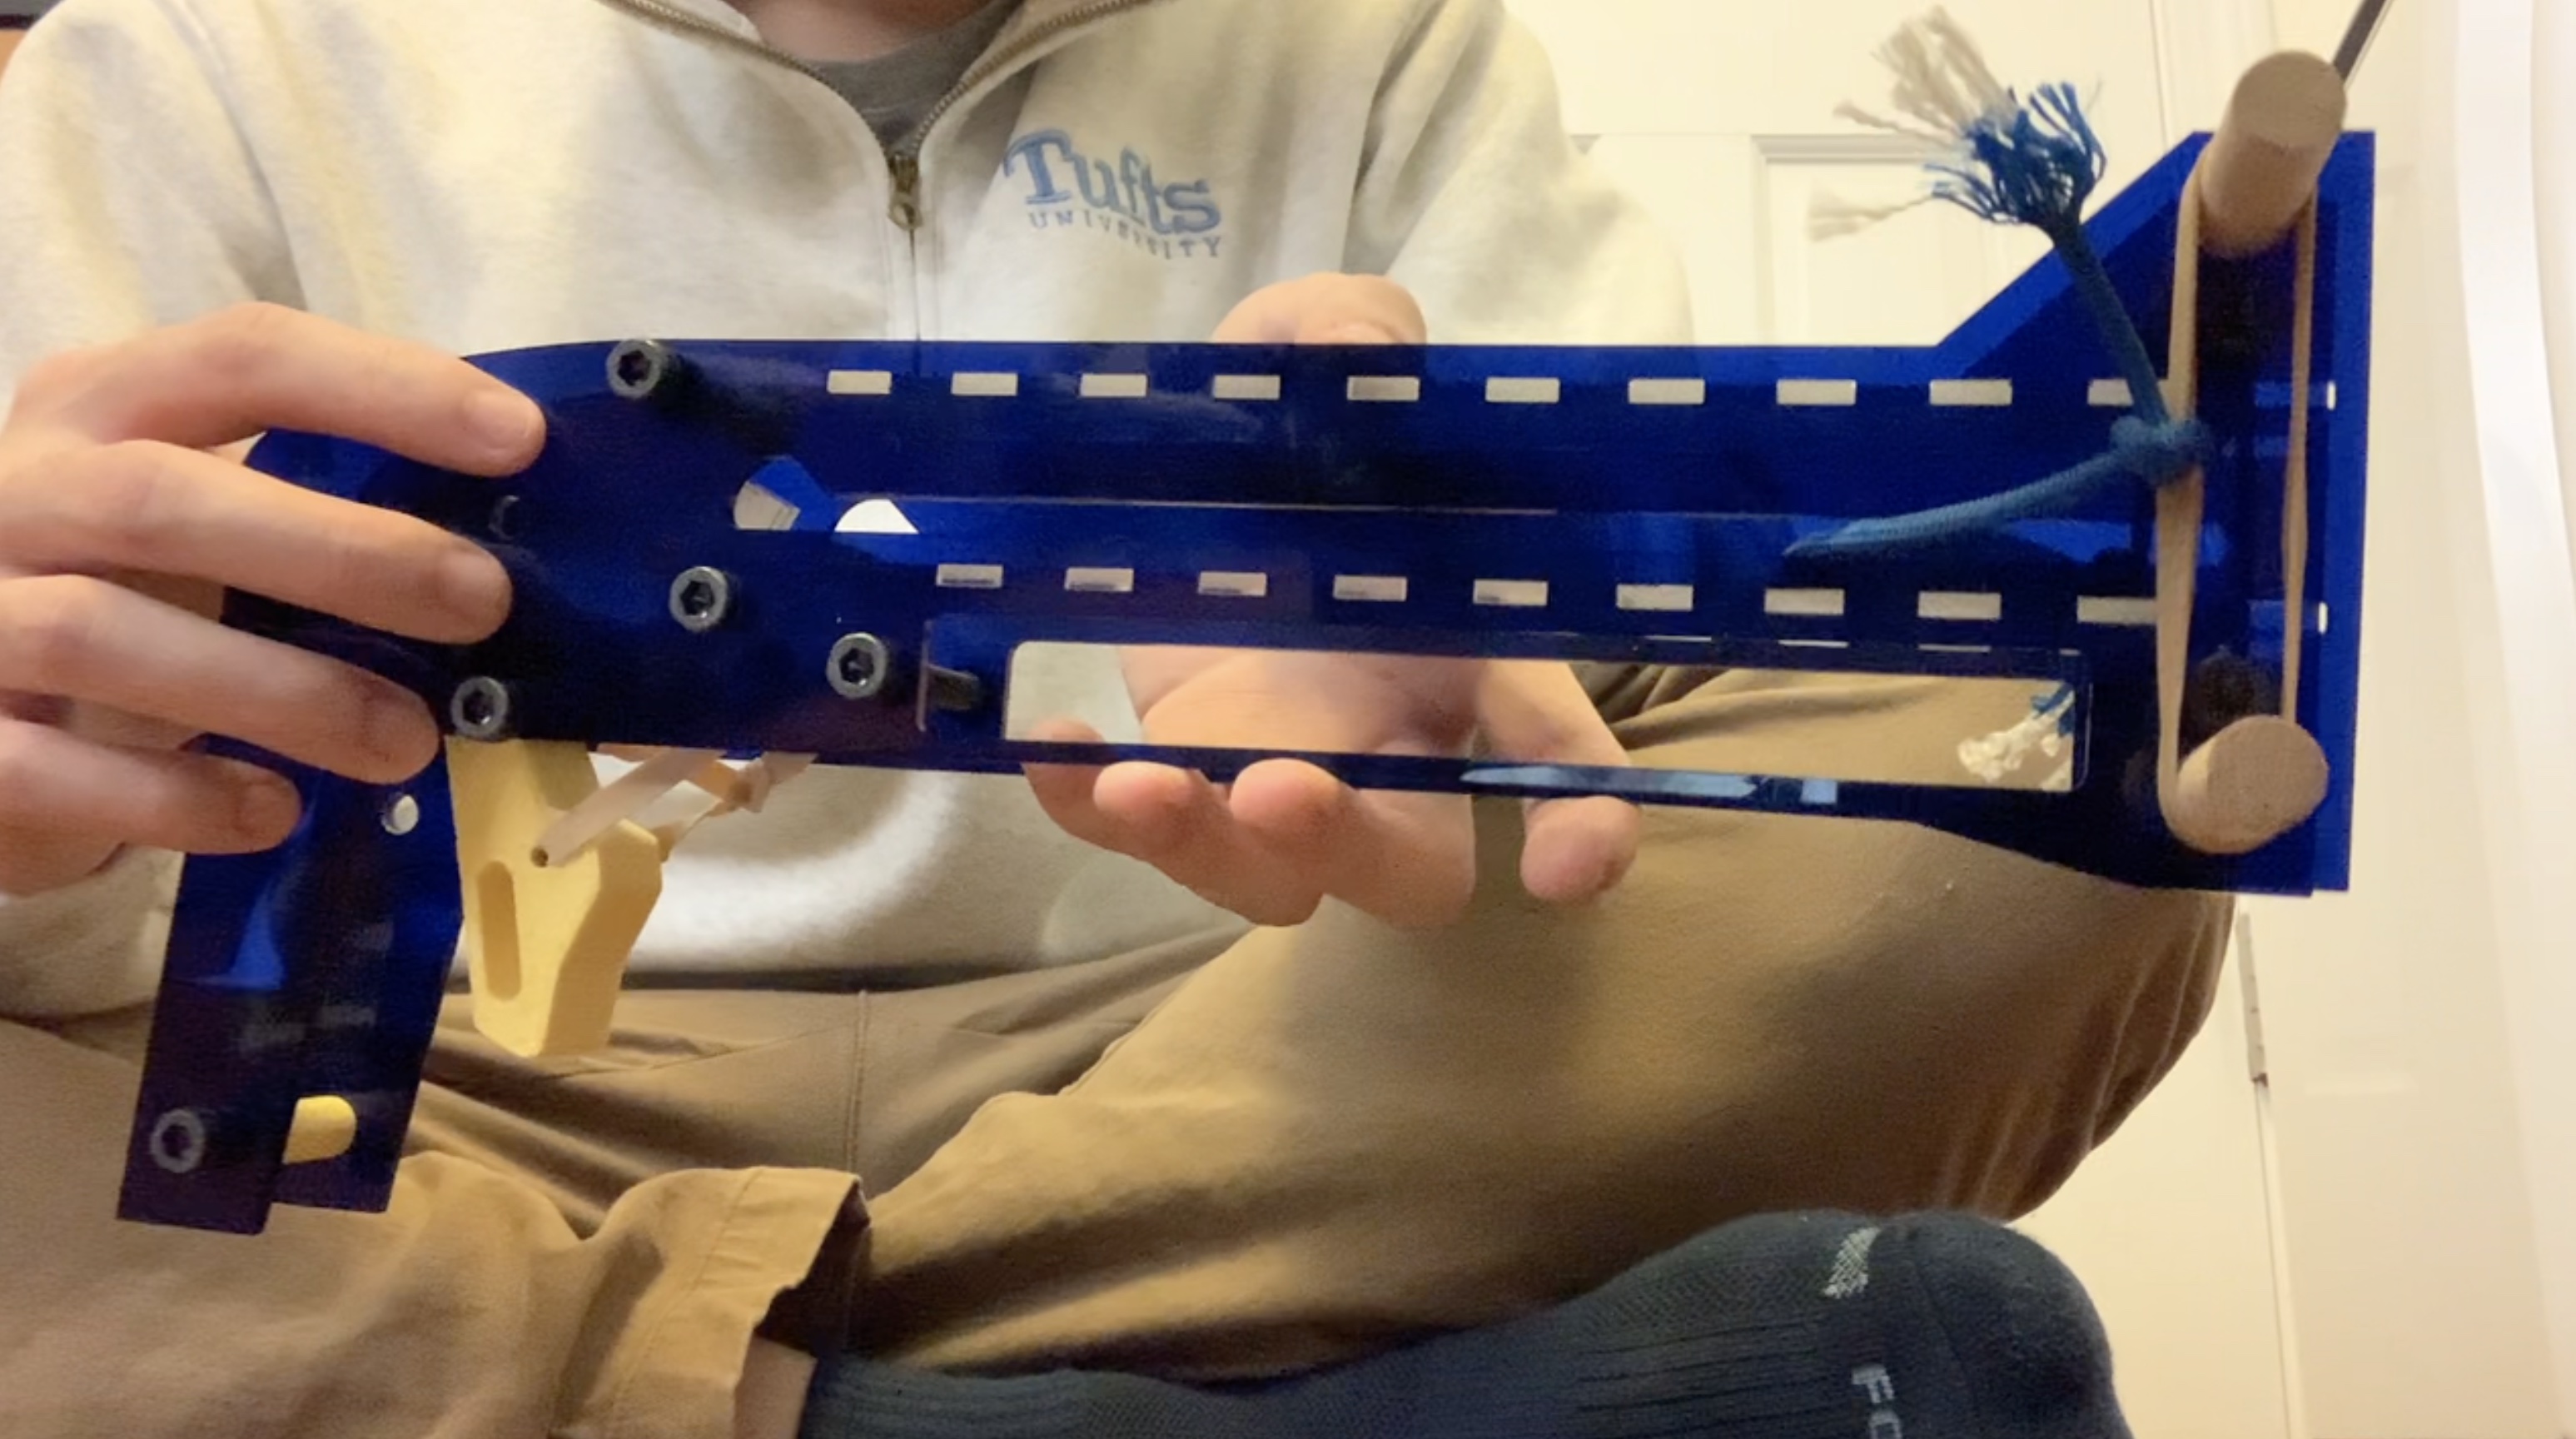
I chose my car based on its sleek form factor, light weight, and beautiful orange-yellow color. I measured the dimensions of this car and designed the guide channel of the crossbow accordingly. I designed the front end of the crossbow to be made of acrylic, as it primarily just consisted of a straight launch tube. The channel length was just over 20 centimeters long, and I added a margin of 1 millimeter in width and height to minimize friction. By using interlocking teeth, I was able to create a properly-dimensioned launch tube, slots for the crossbow "arms", and holes for fastening bolts.
The trigger mechanism was the most intricate aspect of the crossbow. I studied various trigger designs and designed a variant of one of the popular designs to suit my purposes. I designed this component in SolidWorks, and printed a rough prototype using acrylic to make sure it worked.
Upon further development, I realized that I could improve ergonomics substantially if I were to 3D print the entire handle along with the trigger system. I designed it in CAD and based the aesthetic off of modern pistol grips. I figured that the pistol grip was such a popular design (used by non-firearm products such as vacuum cleaners, power tools, gas pumps, etc.) that I couldn't go wrong with it. To make it even more comfortable, I filleted finger grooves in to hopefully help prevent slippage.
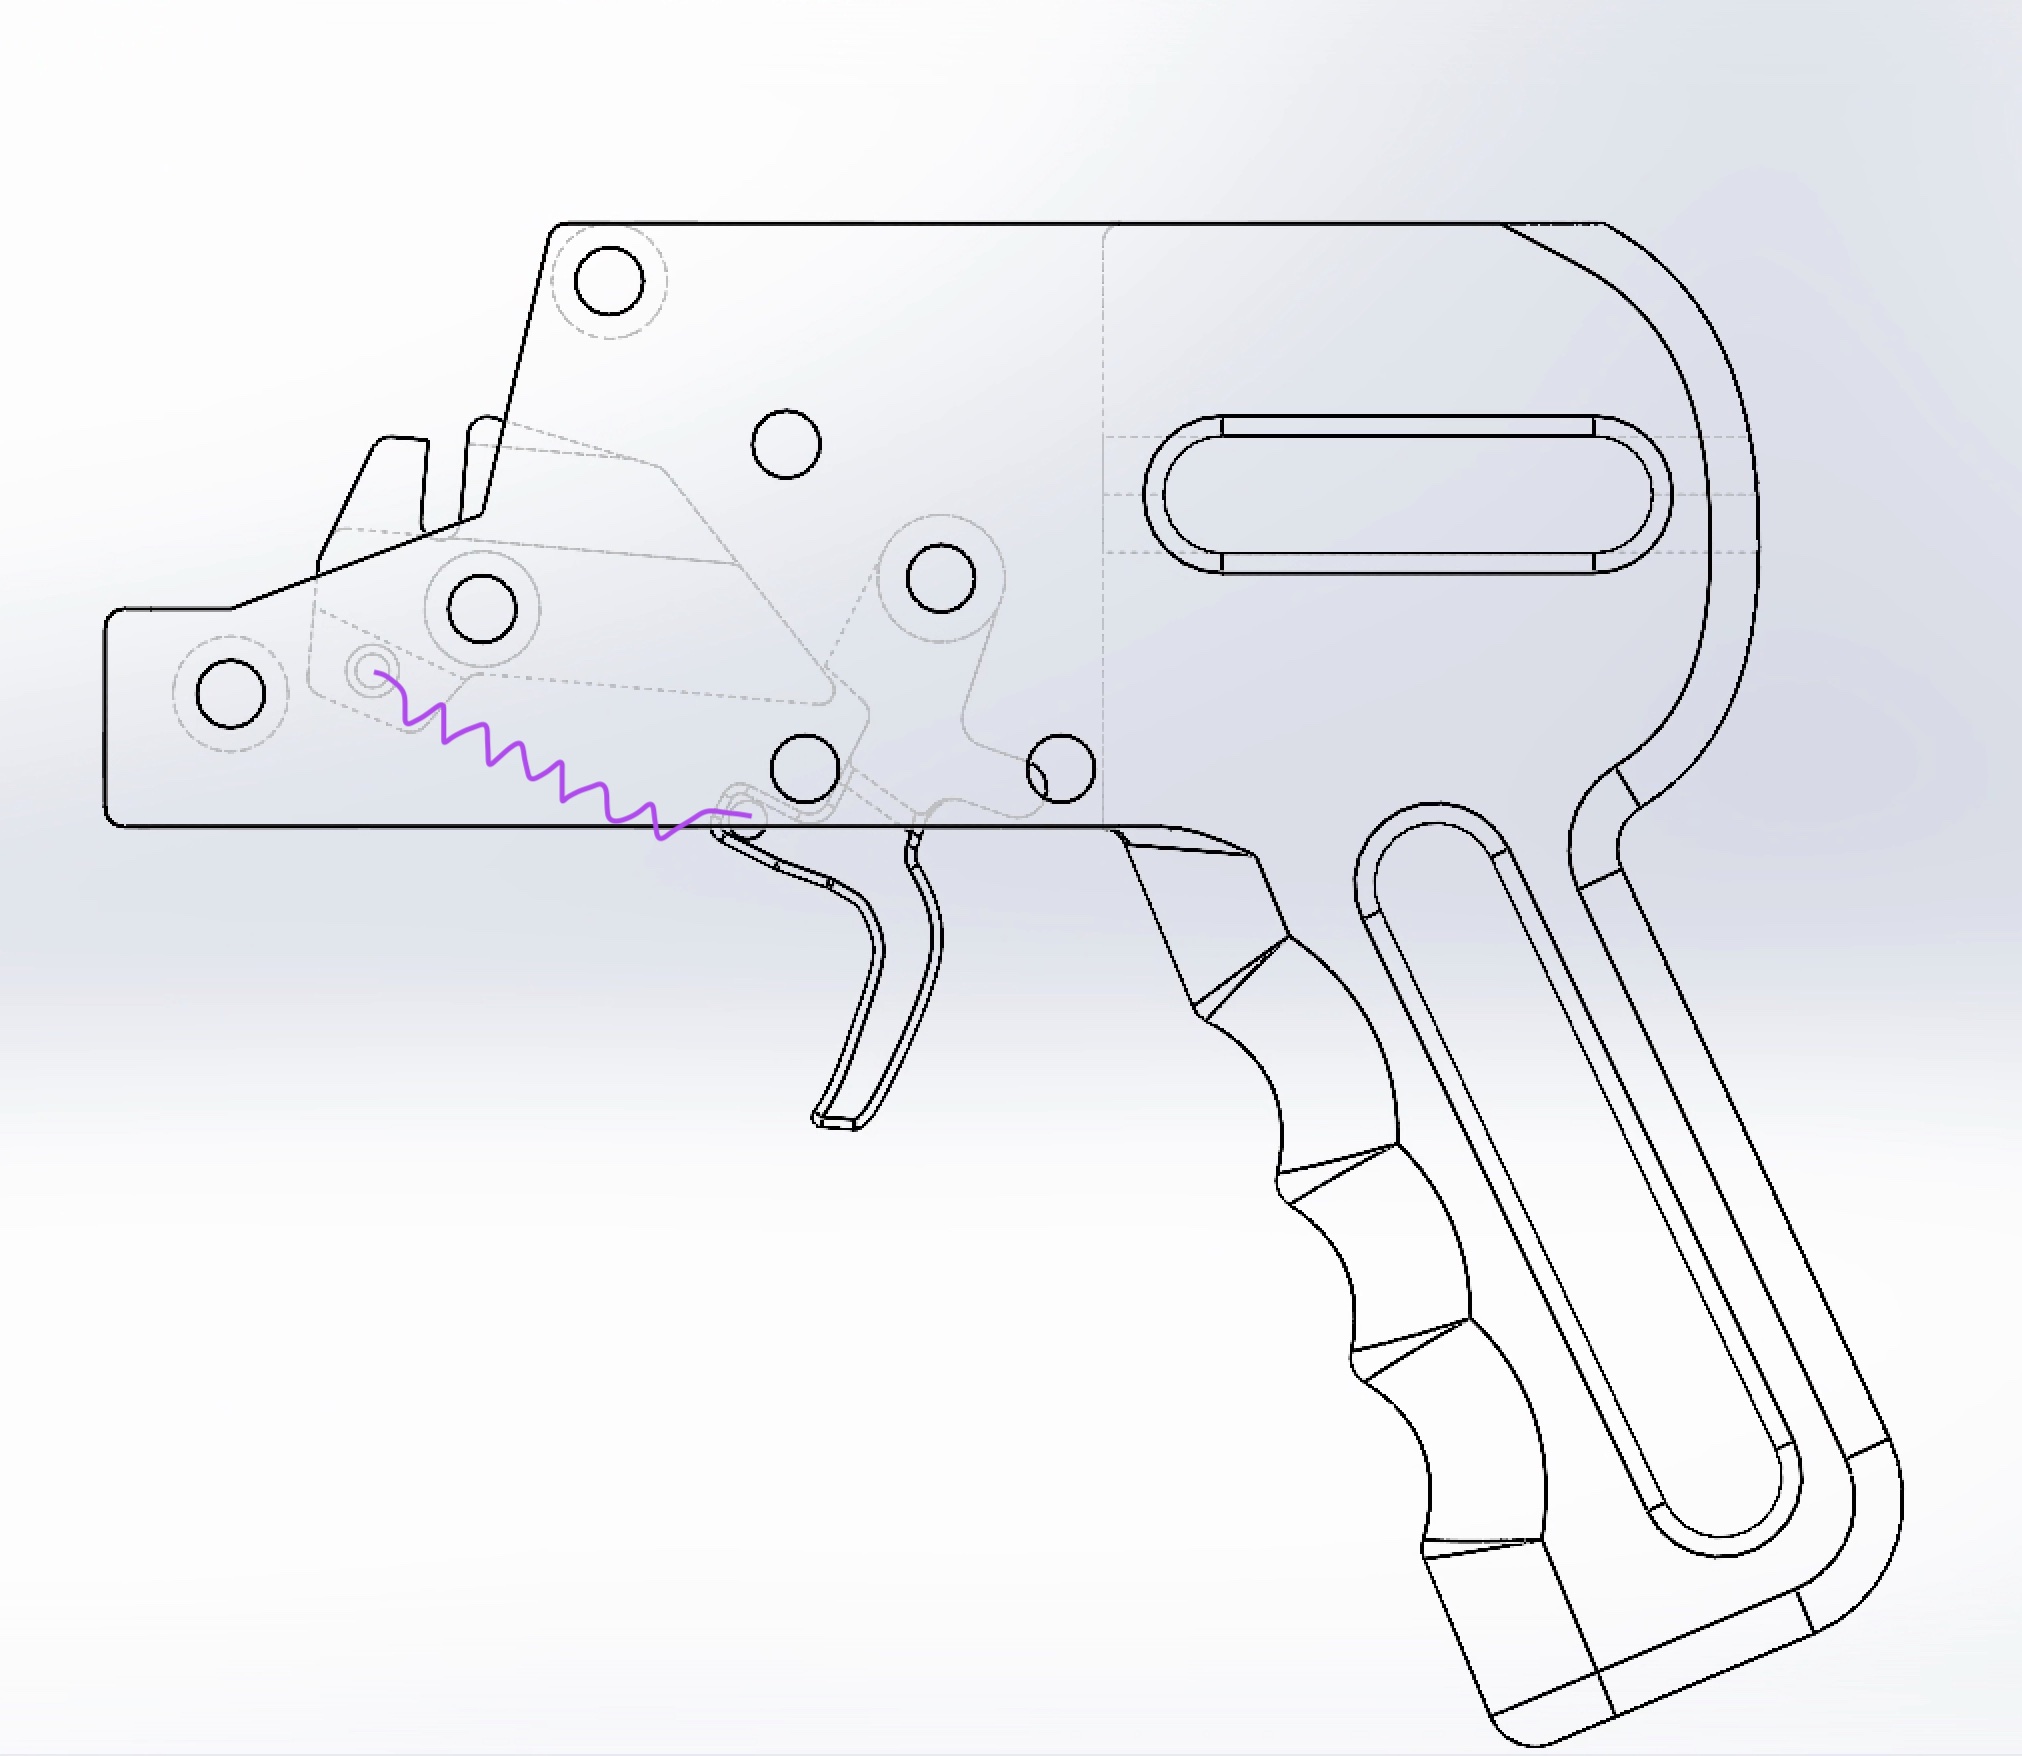
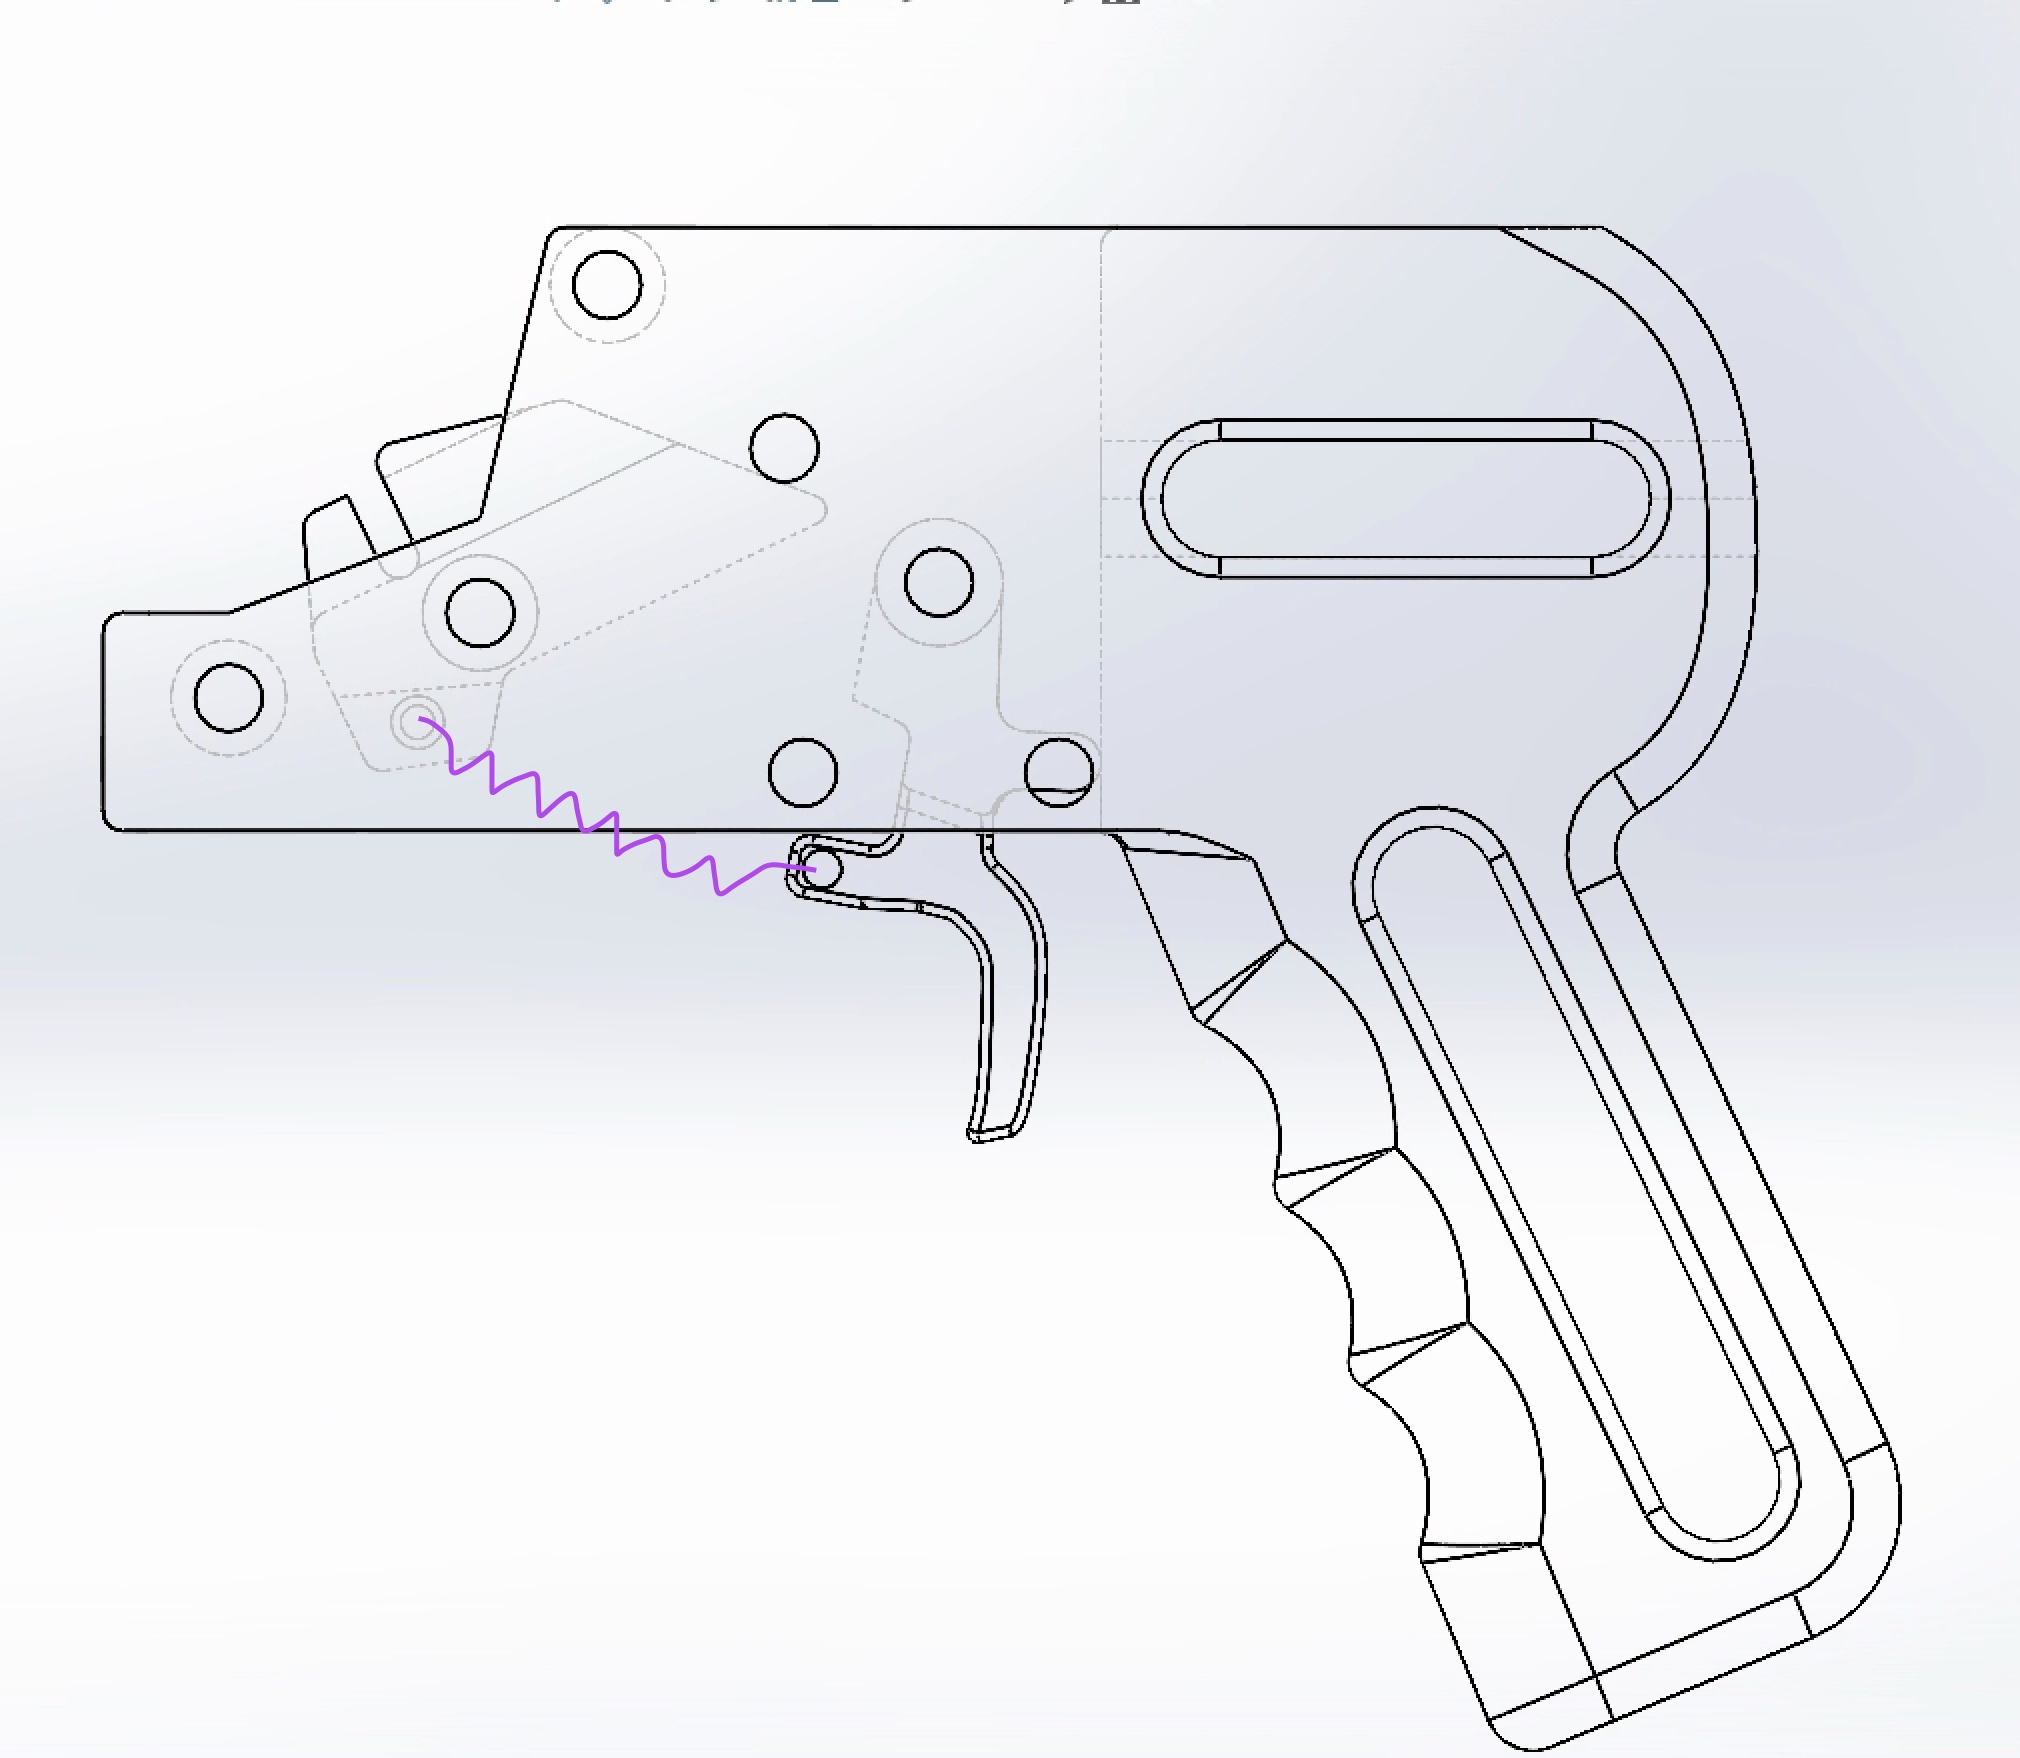
Below are two screenshots illustrating how the trigger mechanism works. The catch and trigger rotate, but are geometrically constrained by each other and strategically placed bolts. An extension spring (shown in purple) provides a little bit of rotational force. The priming bolt (the steel rod that holds the rubber bands) is brought back and pushes the catch under the trigger (left image). When the trigger is pulled, the catch is allowed to rotate out from under the trigger, and the priming bolt is allowed to shoot forward (right image).
The acrylic and 3D printed plastic parts were bolted together with the plastic parts sitting between the acrylic plates. 3D printed knobs were threaded onto the priming bolt to provide a better grip while arming the crossbow.
This crossbow can use up to 6 rubber bands at once (3 on each side) to easily launch a car over 15 meters. Below are some images and videos of it in action.

